Showing posts with label scratchboard. Show all posts

Saturday, December 15, 2012

My Tomie de Paola Illustration Award Contest Entry

You may have noticed that my last post, yesterday's Illustration Friday, was a Christmas card image from 2011.  I drew and painted that just before Thanksgiving, over a year ago.  So I did not create a fresh "snow" picture.  I decided to slack off and post an old one.  

I have excuses. It's been a hectic week at the day job what with all the year-end donations to process and the  preparations for our annual holiday party.  I've put in a fair number of extra hours the past few weeks.  My daughter returned from college yesterday.  And on the weekends, I've been working on this:


This is my submission to the SCBWI's annual Tomie de Paola Illustration Award contest.  It's a scene from The Adventures of Tom Sawyer, rendered in Photoshop using the scratchart method I've been trying to perfect recently.  The challenge was to illustrate a scene of your choosing from Tom Sawyer, Little Women, or The Yearling in black and white.  Since one of my goals is to illustrate middle grade novels, I thought I'd better enter the contest this year--you know--put myself out there.

If you'd like to see some of the other entries, take a look at the blog the SCBWI-Houston Illustrator Coordinator, Diandra Mae, set up: scbwicontest.blogspot.com.

Tuesday, November 27, 2012

This year's Christmas card

One of the things that keeps me extra busy this time of year is the production of the annual Christmas card.  Being a professional artist, I feel obligated to make my own.  This year I decided to create an image using my newly developed digital illustration technique.

I started with a pencil sketch--Christmas elves playing with a remote control toy airplane: 


Then I scanned the image, inverted it in Photoshop, and began to scratch away, painting black back in where needed.


You may notice a subtle difference in the positioning of the plane relative to the elf and presents on the floor. I made the adjustment in Photoshop, selecting the plane with the lasso tool and moving it up slightly. 

I opted for a smoother effect this time, more in keeping with the plastickiness of the toy.  Less of the raw scratching shows.


Then I added a color layer, bold and bright.


The cards are being printed by Moo.com.  I've always been pleased with their work, and they've extended their cyber Monday special til midnight tonight, bless them.  I went crazy and paid the extra for red envelopes!


Wednesday, November 21, 2012

The New Blog Banner

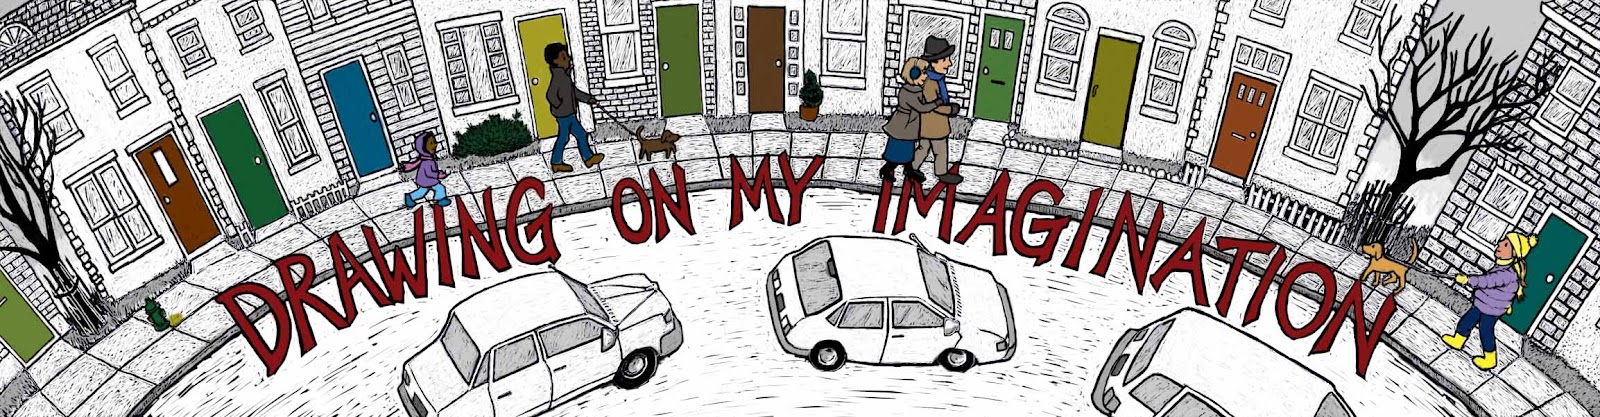
If you've visited this blog before, you may be thinking something's different this time.  You're not mad: I replaced the blog banner with one I created using my new Photoshop scratch board method.

I started with an image I used for the 2011 holiday season.  This I had drawn with pen and ink, and then added a watercolor wash to highlight the text, the people, and the doors (for a touch of rhythm).


I opened the scanned image in Photoshop, then inverted the colors and began to scratch away.


I kinda like the look mid-process, as the images are emerging from the blackness.  I may have to play around a bit more with that effect.


I liked the way the cars looked with the street still black, but because of the positioning of the text, the high contrast between street and sidewalk made it hard to read the words, no matter which color I filled the letters with.  I ended up scraping away most of the black of the street.  I guess its concrete instead of asphalt. 


I'm not sure I like this banner any better than last year's.  It's a bolder look, though, and I like that.

Tuesday, November 13, 2012

Tweaking . . .

This afternoon I've been working on tweaking the image from my last post. Here it is again:


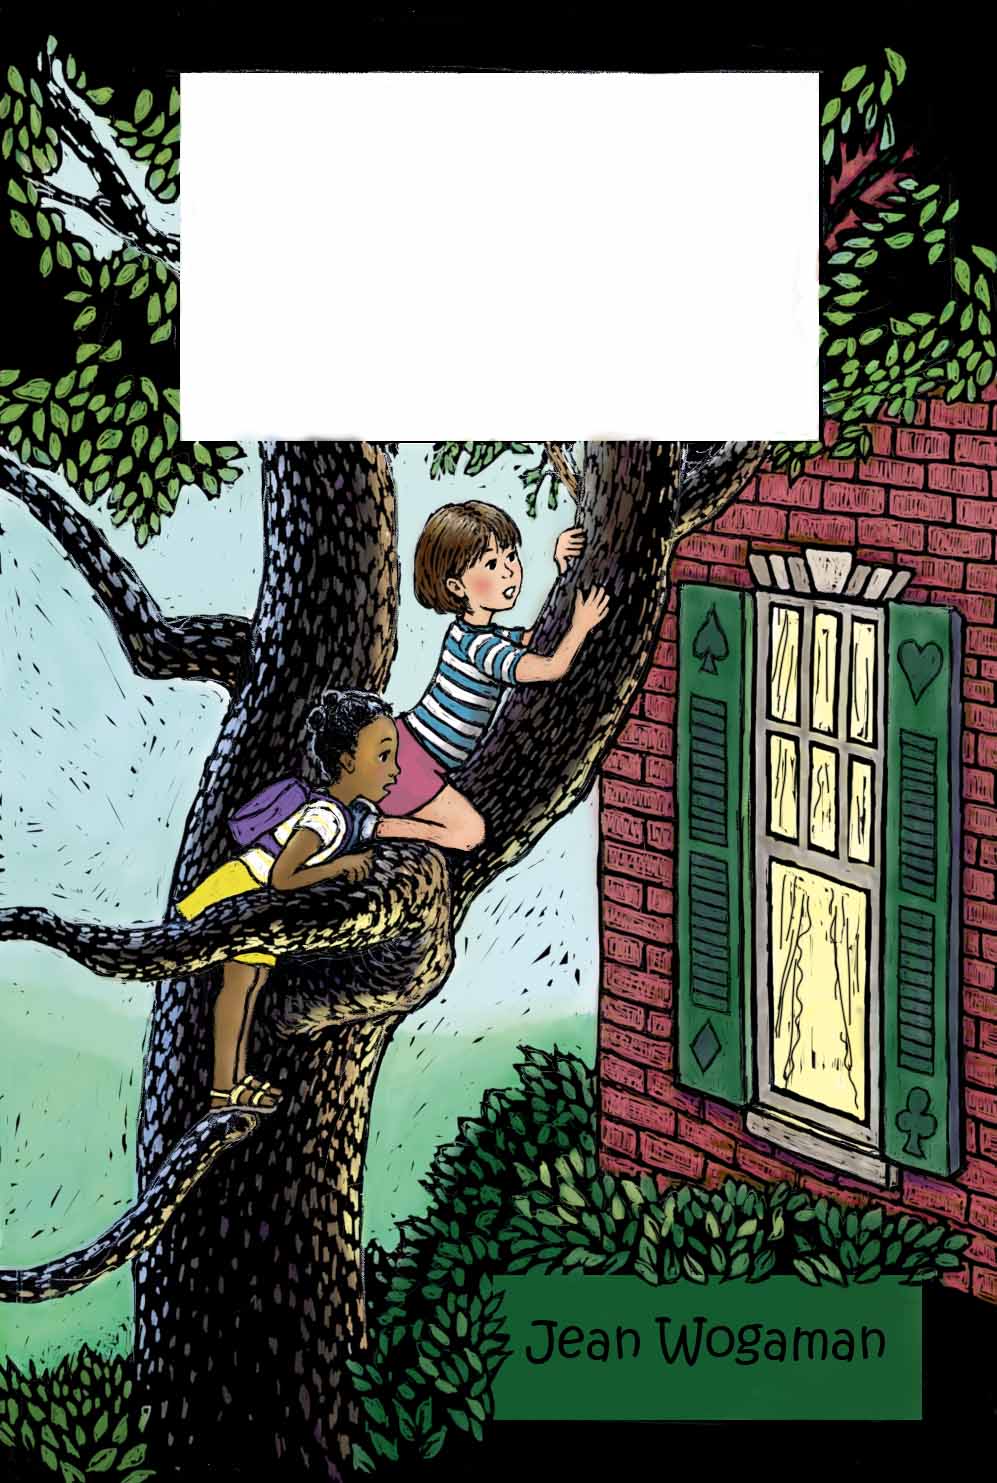
I want to use it as a sample book cover in my portfolio. I decided it isn't quite up to the standard I want to project.  It's a little too heavy on the dark green.

This is where I love working digitally.

I went back into my original Photoshop document, which I had saved unflattened.  In my "wash" layer, I erased the dark green off the shutters and repainted them with the putty colors of the window frames.  I easily captured the same colors with my color picker tool.  Then I lightened the rectangle in which my name appears by selecting it and filling the selection with a semitransparent light yellow green.  In the scratch board layer, I scraped away some of the weight of the black lines around the window panes with the eraser tool.

Here's how it looks now:


I think the lightening of the window area has created a bit of an illusion that the characters were lightened too.  I didn't touch them this round. Hmm. Interesting effect.  I am happier now.

On another, more exciting note, I have ordered myself a copy of Painter 12 software.  It's on sale half off.  A bargain not to be missed!  The only thing worrying me is that I don't have a super powerful computer.  It's about five years old, running Windows Vista.  When I'm using Photoshop, all other windows are closed.  I optimize the computer after every digital drawing session.  Last Friday I cleaned out old high res files I'll never need again.  Yet, I still run into sluggishness when I'm working with a lot of layers.  I want to be able to draw quickly, without having to wait a second for my line to appear on the screen.  I'm afraid adding another high grade art software will freeze up this old machine.  Maybe Santa will bring me a new PC with a 6+ GB hard drive and 1 TB of memory.  He brought me my Intuos 4 tablet last year.  Here's hoping!

What new art tools are you wishing for?

Saturday, November 10, 2012

Illustration Friday: Tree


This week's Illustration Friday image, "Tree," is a redo of a mock book cover.  As you can see, I am still attempting to perfect scratch board effects in Photoshop.  I feel like I'm making progress.  At any rate, I like how the tree looks.  If I work at a higher resolution next time, I'll be able to get more nuanced facial expressions.  I'm loving how I can work and rework the image without overworking it. Just scrape away mess ups with the eraser tool and try again!

I'm also loving the boldness of the medium.  It's a great improvement over the anemic original (overworked in watercolor and colored pencil):


Saturday, October 20, 2012

Illustration Friday: Sky


For the past week I've been plugging away at the sample grayscale interior illustrations for my middle grade novel.  I have three pieces I think I am happy enough with to include in my submission packet, so my next step is to create a sample cover for the book.  For that, I plan to color a Photoshop scratchboard pic.  I have completed a sketch, scanned it, and inverted the black and white in preparation for scratching out the image.

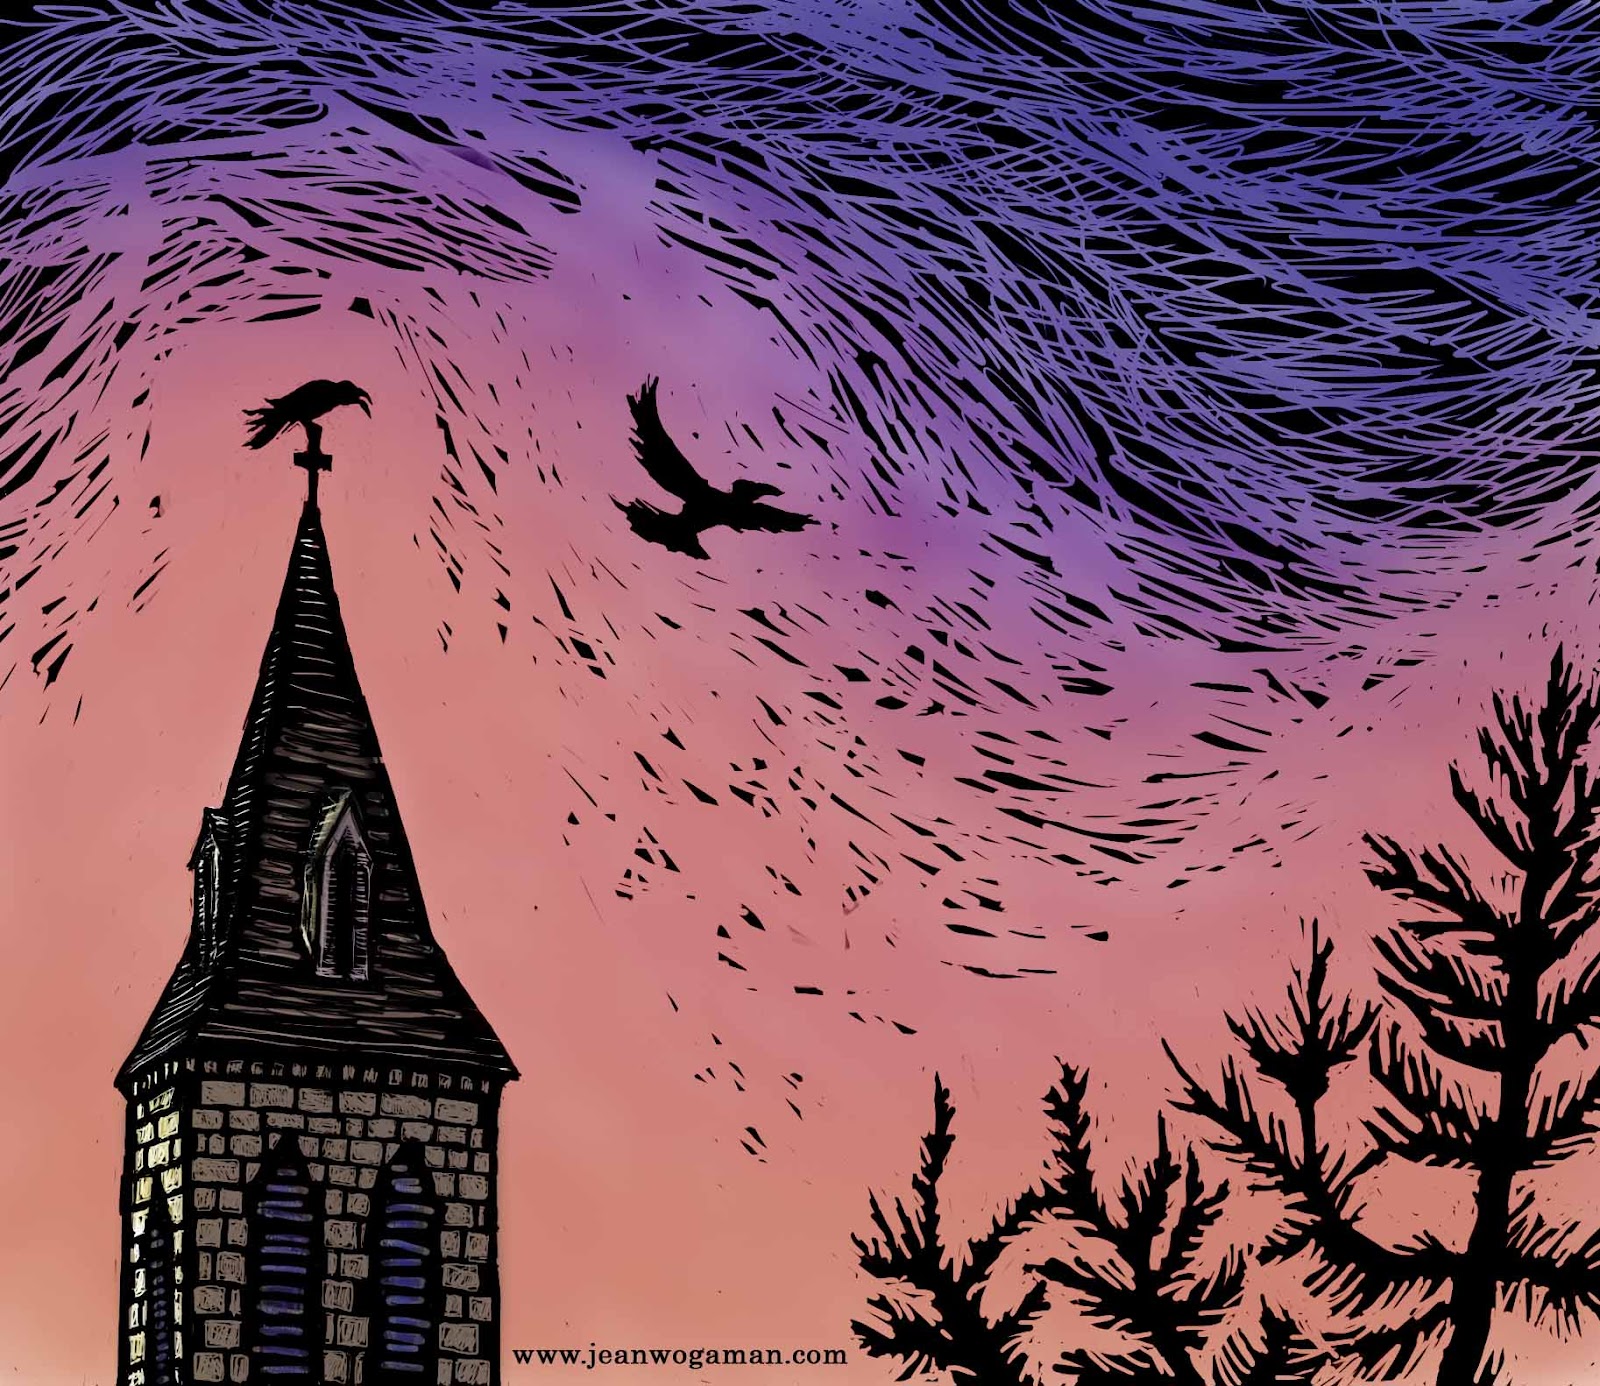
Then, having never tried colorizing one of these "scratchboards," I decided to do a test run with a simpler image, one I could rush through to work through all the kinks in the process without too much worry about the final product.  For subject matter, I addressed this week's Illustration Friday theme: Sky.  You see the results above.

I scratched away the black on the background layer, then did a "wash," applying fairly transparent color with a mixer brush tool.  (I chose the predominant sky color of vivid orange so that it with the black and the crows would evoke thoughts of Halloween.)  The "wash" dulled the black, so I had to spend a good chunk of the evening figuring out how to generate a black mask layer from the background and lay it over the top of the wash.  I ended up using the "subtract" layer style.  I'm sure there are other methods of achieving the same result, perhaps even simpler ones, but this was the first that worked for me, and I've been at this long enough for today.  I hope it doesn't take me too long to figure out from my notes how to do it again for the next piece.

Saturday, October 6, 2012

Drawing by Subtraction

I took a third Photoshop stab at my middle grade novel illustration.  This time working with a scratchboard effect (click on image to enlarge):


No actual boards were scratched in the creation of this picture.  I took my original pencil sketch scan

and inverted the colors in Photoshop.  Sorry, I have no picture of the inversion, but the effect was to turn the background black and the pencil lines into faint white guidelines.  I then "scratched" away with the eraser tool, varying the size and type of brush (you can use the same brush specs for erasing as you do for painting) to get different textures and levels of detail.

I think I have hit upon the right method for this particular book, which has a lot of physically dark scenes.  It's a very forgiving method.  Easy to "re-ink" an error and "scratch" again.  Better than real scratchboard that way.  Also better in that I don't have ink crumbs everywhere and a hand cramping around a knife tool.  It is significantly better than real scratchboard in the amount of control I can get over finer details like facial features.  That and the fact that it is FUN are the most important reasons to carry on with this method.

Next, I will work up light pencil sketches for two more chapter illustrations, then give them the Photoshop scratchboard treatment.  As I get better at this method, I may decide to rework this illustration too.  And I need to be thinking about a sample cover illo to submit with my query packet.  Perhaps a "scratchart" illustration in color.

Monday, June 27, 2011

IF: Midsummer Night

"Methought I was enamour'd of an ass."


As a huge Shakespeare fan, I couldn't read the Illustration Friday topic "Midsummer Night" and not think of the play "A Midsummer Night's Dream." Here is the scene where Titania wakes from the spell to discover that she has been making love to Bottom, a big oaf with a donkey head. Since the scene occurs at night, with lots of dark, I decided to try my hand at scratchboard again. It took longer than I expected, but perhaps I just need more practice with the medium. If you want to see a real master of scratchboard, go to http://sean-ashby.blogspot.com/.

Sunday, October 3, 2010

ScratchArt

These days I have been spending most of my time revising a middle grade novel. That's going well, but slowly. I have also signed up for a workshop on writing for young children at The Writers' Center in Bethesda, Maryland. Class began last Thursday. It's a seven-week long course that I'm hoping will inspire lots of stories suitable for pairing with my own illustrations. So far so good.

Naturally, this means less time for drawing (I still have that day job too), but I do manage to get a bit of sketching in here and there. I joined the Dupont Drawing Group and have attended two life-drawing sessions; however, I won't be posting any pictures from that on this strictly PG-rated blog. I probably won't attend more sessions until the writing workshop ends in mid-November.

Of course, being one of those people who was born with a drawing pencil in her hand, I can't suppress my sketch demons entirely. Inspired by the delightful and brilliant work of Sean Ashby, I have begun to play with scratchboard. Here's my first sheet of scratch doodles:


This medium would lend itself well to black & white interior art for middle grade novels. That's right up my alley!

Hello!

 Just checking in to say I am still alive but less active here, obviously.  You can find my more recent art posts on social media, especiall...